Karaoke Machine HDMI Connection: How to Connect to Your TV in 4 Steps
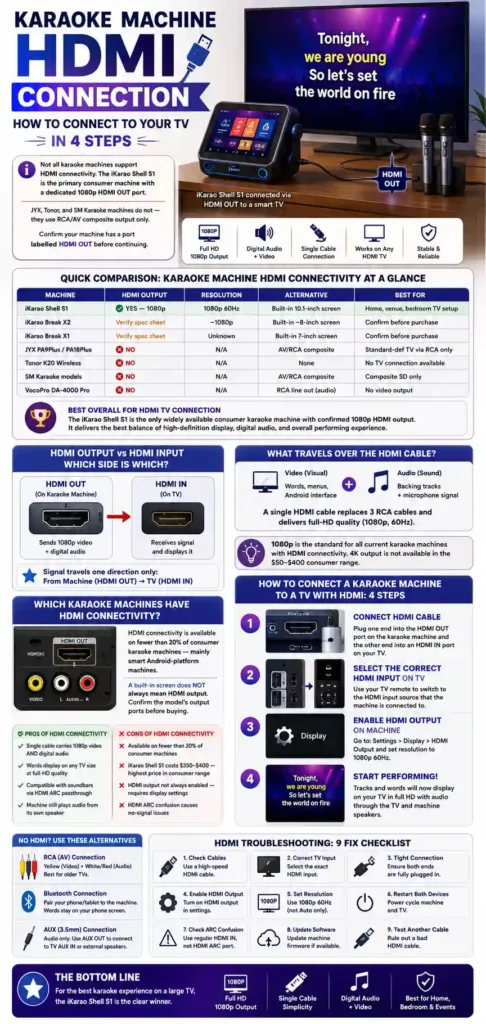
Not all karaoke machines support HDMI connectivity. The iKarao Shell S1 is the primary consumer machine with a dedicated 1080p HDMI OUT port. JYX, Tonor, and SM Karaoke machines do not — they use RCA/AV composite output only. Before following this guide, confirm your machine has a port labelled HDMI OUT on its rear or side panel.
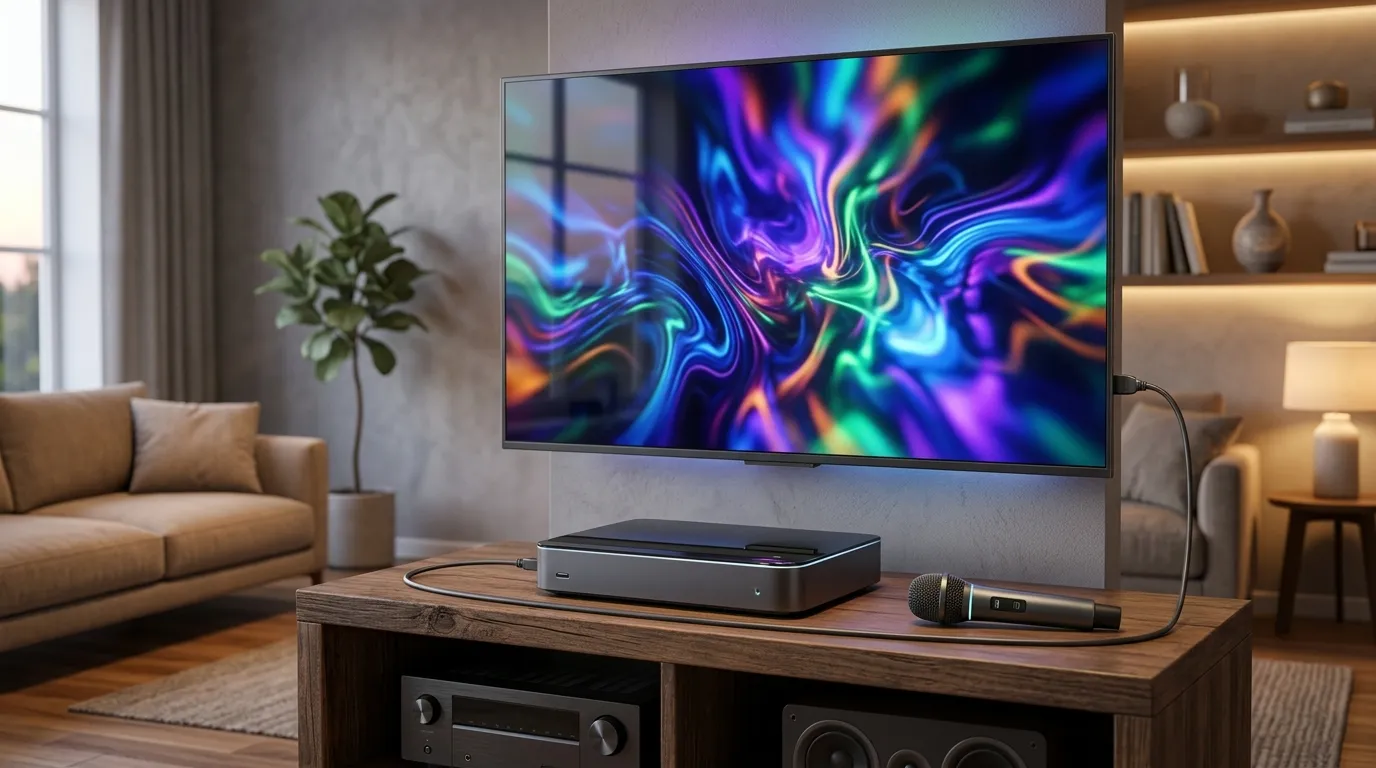
Covered on this page: karaoke machines with HDMI connectivity and which ones have it, how to connect a karaoke machine to a TV with HDMI in 4 steps, HDMI ARC vs standard HDMI, TV display settings, how to connect a karaoke machine to a TV without HDMI, and a 9-fix troubleshooting checklist. It also covers karaoke machines HDMI connectivity differences — why some machines support it and others do not. For all 4 karaoke-to-TV connection methods — HDMI, RCA, Bluetooth, and AUX — see the connect karaoke machine to TV setup guide.
Quick Comparison: Karaoke Machine HDMI Connectivity at a Glance
| Machine | HDMI Output | Resolution | Alternative | Best For |
|---|---|---|---|---|
| iKarao Shell S1 | ✅ YES — 1080p | 1080p 60Hz | Built-in 10.1-inch screen | Home, venue, bedroom TV setup |
| iKarao Break X2 | Verify spec sheet | ~1080p | Built-in ~8-inch screen | Confirm before purchase |
| iKarao Break X1 | Verify spec sheet | Unknown | Built-in 7-inch screen | Confirm before purchase |
| JYX PA9Plus / PA18Plus | ❌ NO | N/A | AV/RCA composite | Standard-def TV via RCA only |
| Tonor K20 Wireless | ❌ NO | N/A | None | No TV connection available |
| SM Karaoke models | ❌ NO | N/A | AV/RCA composite | Composite SD only |
| VocoPro DA-4000 Pro | ❌ NO | N/A | RCA line out (audio) | No video output |
Best Overall for HDMI TV Connection: The iKarao Shell S1 is the only widely available consumer karaoke machine with confirmed 1080p HDMI output. It is the benchmark machine for any buyer whose primary goal is displaying karaoke words on a large TV in high definition. Every other machine in this comparison either uses RCA (standard-definition only) or has no TV connection capability at all.
HDMI Output vs HDMI Input: Which Side Is Which?
A karaoke machine HDMI connection requires an HDMI OUT port on the machine and an HDMI IN port on the TV — the signal travels one direction only: from machine to TV.
The HDMI OUT port on the karaoke machine transmits 1080p video and digital audio as a single combined signal. The HDMI IN port on the TV receives it and displays it on screen. These are not interchangeable — plugging 2 HDMI OUT ports together produces no signal.
What travels over the cable is both visual — words, menus, the Android interface on the iKarao Shell S1 — and audio, including backing tracks and the microphone signal. A single HDMI cable replaces 3 separate RCA cables and produces significantly higher display quality. The iKarao Shell S1 outputs at 1080p, 60Hz — a full-HD signal that displays correctly on any TV manufactured after 2008.
1080p is the standard for all current karaoke machines with HDMI connectivity — 4K output is not available on any consumer karaoke machine in the $50–$400 range. A 4K TV accepts a 1080p HDMI input without issue. For buyers researching which screen-equipped machines offer the best performing experience connected to a TV, the best karaoke machine with screen review covers all current options.
Which Karaoke Machines Have HDMI Connectivity?
HDMI connectivity is available on fewer than 20% of consumer karaoke machines — it is primarily a feature of smart Android-platform machines, not standard portable or home all-in-one units.
Buyers frequently assume that a machine with a built-in screen also has HDMI output. This is not always true. The built-in screen and the HDMI output port are 2 separate hardware components — a machine can have one without the other. In practice, the iKarao Android platform ships both together.
Confirm the specific machine model’s output port specifications before attempting connection. If the machine has no HDMI OUT port, this guide does not apply. For the full iKarao Shell S1 specification including HDMI output detail, the iKarao karaoke machine brand page covers every port and spec. For machines without HDMI — including the JYX karaoke machine — see the RCA connection guide in the section below.
✅ Pros of Karaoke Machines with HDMI Connectivity
- Single cable carries 1080p video AND digital audio — no separate cables needed
- Words display on any TV size at full-HD quality
- Compatible with soundbars via HDMI ARC passthrough chain
- Machine continues producing audio from its own speaker simultaneously
❌ Cons of Karaoke Machines with HDMI Connectivity
- HDMI output is limited to fewer than 20% of consumer karaoke machines
- iKarao Shell S1 (primary HDMI machine) costs $350–$400 — highest price point in the consumer segment
- HDMI output not always enabled by default — requires checking Android display settings
- HDMI ARC port confusion causes no-signal failures on first connection for many users
How to Connect a Karaoke Machine to a TV With HDMI: 4 Steps
Connecting a karaoke machine to a TV via HDMI takes under 2 minutes and requires 1 standard HDMI cable (Type A, any length under 15 feet for home use).
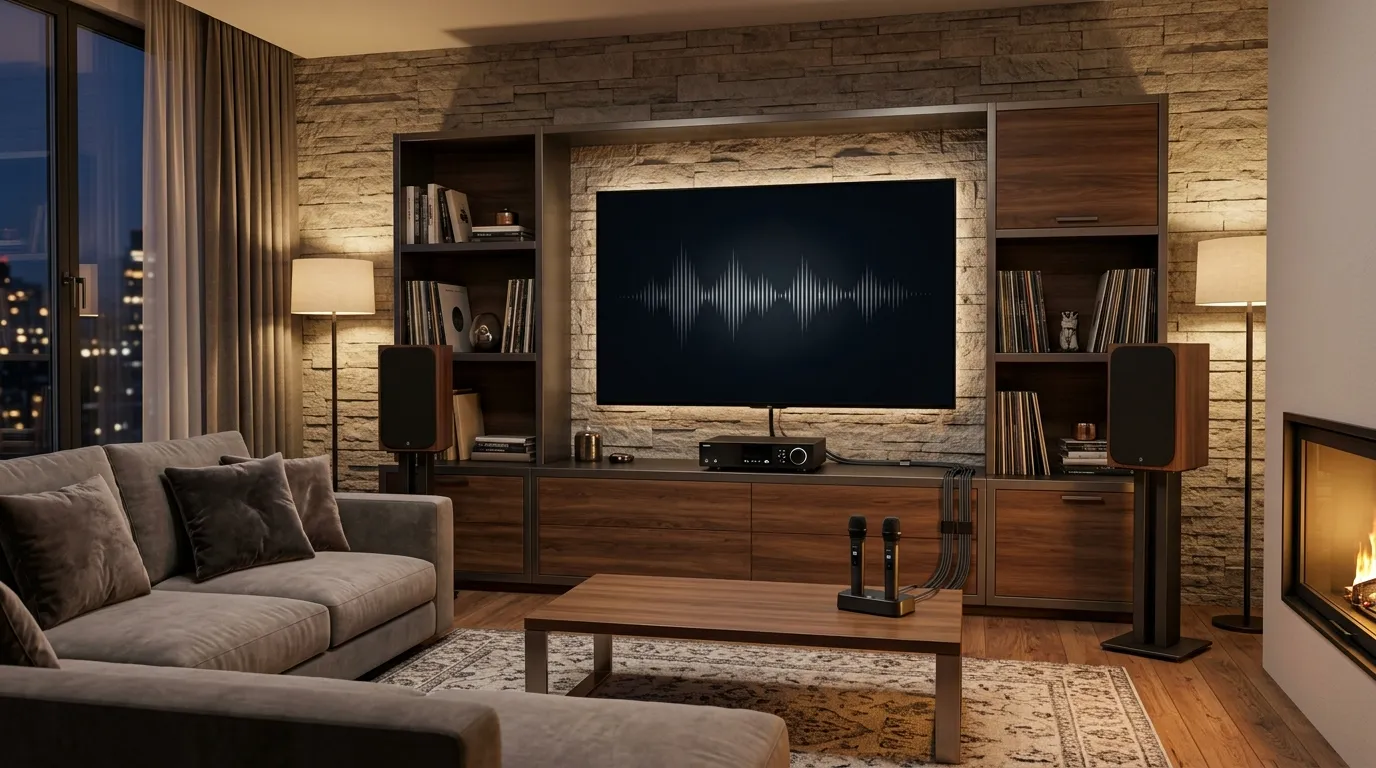
Step 1 — Power off both devices. Switch off the karaoke machine and the TV before connecting the cable. This prevents electrical spikes through the HDMI port and avoids signal handshake errors on first connection.
Step 2 — Connect the HDMI cable. Plug one end firmly into the HDMI OUT port on the karaoke machine. Plug the other end into any port labelled HDMI IN on the TV — not the port labelled ARC (covered below). HDMI connectors are directionally keyed — if resistance is felt, rotate 180° and try again.
Step 3 — Power on in order. Switch on the karaoke machine first and allow it to fully boot, then switch on the TV. Powering on the karaoke machine before the TV ensures the TV detects the HDMI signal during its own startup, reducing input recognition failures on first connection.
Step 4 — Select the correct TV input. Press INPUT or SOURCE on the TV remote. A menu appears listing all connected inputs — HDMI 1, HDMI 2, HDMI 3, and so on. Select the number corresponding to the port you connected to. The karaoke machine’s screen appears on the TV at 1080p.
If no picture appears after Step 4, try each HDMI input in sequence before checking the cable — the most common cause of no signal is simply selecting the wrong input number.
HDMI Cable Type and Length for Karaoke
Any standard HDMI 1.4 or 2.0 Type A cable supports 1080p at 60Hz — the specification used by all current karaoke machines with HDMI connectivity. There is no dedicated karaoke HDMI cable — a standard cable sold for any TV application works identically.
Passive HDMI cables transmit reliably up to 15 feet (5 metres). Above 15 feet, use an active HDMI cable or an HDMI signal repeater. A 6-foot HDMI cable costs $6–$15. Premium cables at $30–$50 offer no measurable performance advantage for 1080p over distances under 15 feet.
Display Settings After HDMI Connection
After connecting and selecting the correct TV input, the karaoke machine’s display mirrors onto the TV at 1080p — no additional TV settings are required for basic operation.
3 display settings occasionally need adjusting: overscan (if the image is cut off at edges, disable it in TV Display/Picture settings), aspect ratio (if stretched, set TV to 16:9 or Auto), and Game Mode (optional — reduces input lag by approximately 20–30ms for faster word-scrolling response). After a successful connection, the karaoke machine microphone setup guide covers the next step — setting mic levels and voice effects for the performing session.
HDMI ARC vs Standard HDMI: Which Port to Use for Karaoke
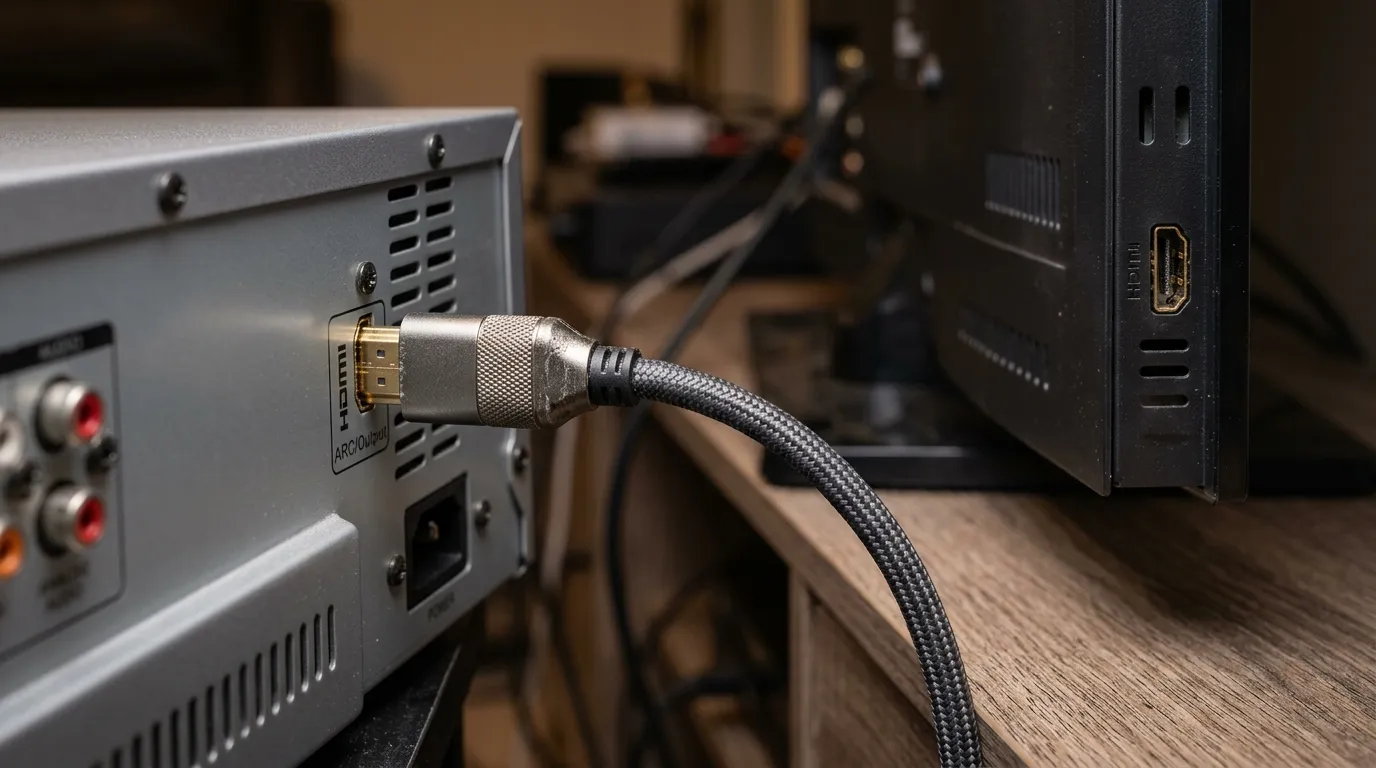
For connecting a karaoke machine to a TV, use a standard HDMI IN port — not the HDMI ARC port. This is the single most common connection mistake on modern TVs.
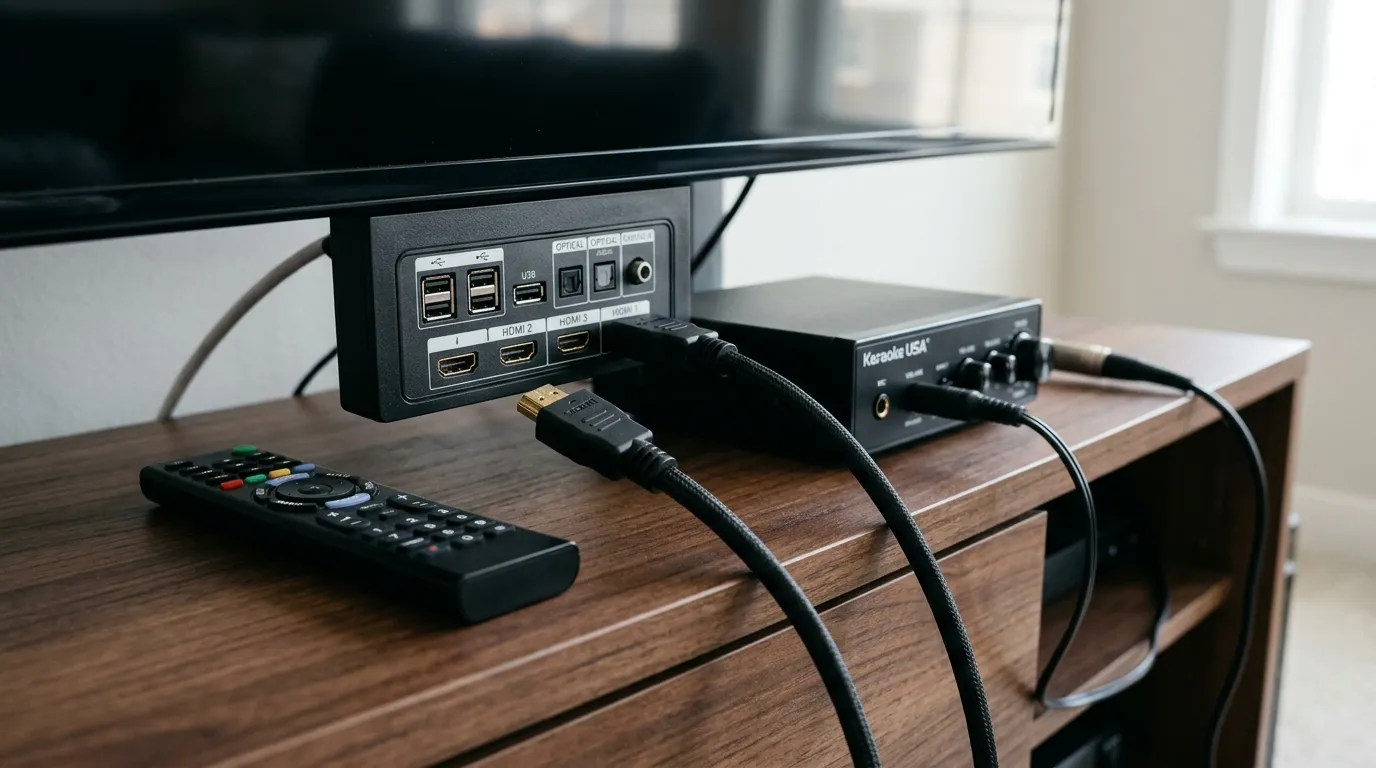
Every modern TV has at least 1 HDMI port labelled ARC (Audio Return Channel). ARC is designed to send TV audio back to a connected soundbar — it is an audio output from the TV, not a video input. Plugging a karaoke machine into the HDMI ARC port produces no picture on most TV models, or audio-only output with no visual display.
Always use a port labelled HDMI 1, HDMI 2, or HDMI 3 (without the ARC label) for the karaoke machine. The ARC port is physically identical to standard HDMI ports — only the text label beside it differs.
The valid soundbar setup using HDMI ARC: karaoke machine HDMI OUT → standard TV HDMI IN → TV HDMI ARC OUT → soundbar. The karaoke machine connects to a standard HDMI IN port, the TV displays the words, and the TV simultaneously sends the audio through its ARC port to the soundbar. The performer hears audio through the soundbar’s larger drivers while words display on the TV. Plugging the karaoke machine directly into the HDMI ARC port — bypassing the standard HDMI IN — typically produces no signal at all.
TV Settings After HDMI Connection: Input Selection and Display
After connecting the HDMI cable, select the correct TV input by pressing INPUT or SOURCE on the TV remote and selecting the HDMI port number you connected the karaoke machine to.
Every TV has multiple HDMI ports — typically 2 to 4 — numbered HDMI 1, HDMI 2, HDMI 3, and so on. The TV does not automatically switch to the karaoke machine’s input. Manual selection is required every time, unless the TV has HDMI auto-detect (available on some Samsung and LG models — check TV settings for “HDMI Auto Switch” or equivalent).
If unsure which port number was used, cycle through each HDMI input in sequence. Display settings that improve the performing experience: disable overscan if words appear cut off at edges; set aspect ratio to 16:9 or Auto if the display appears stretched; enable Game Mode if the display response feels delayed relative to the audio. Words are transmitted directly from the karaoke machine’s Android interface — they are not generated or processed by the TV itself.
How to Connect a Karaoke Machine to a TV Without HDMI
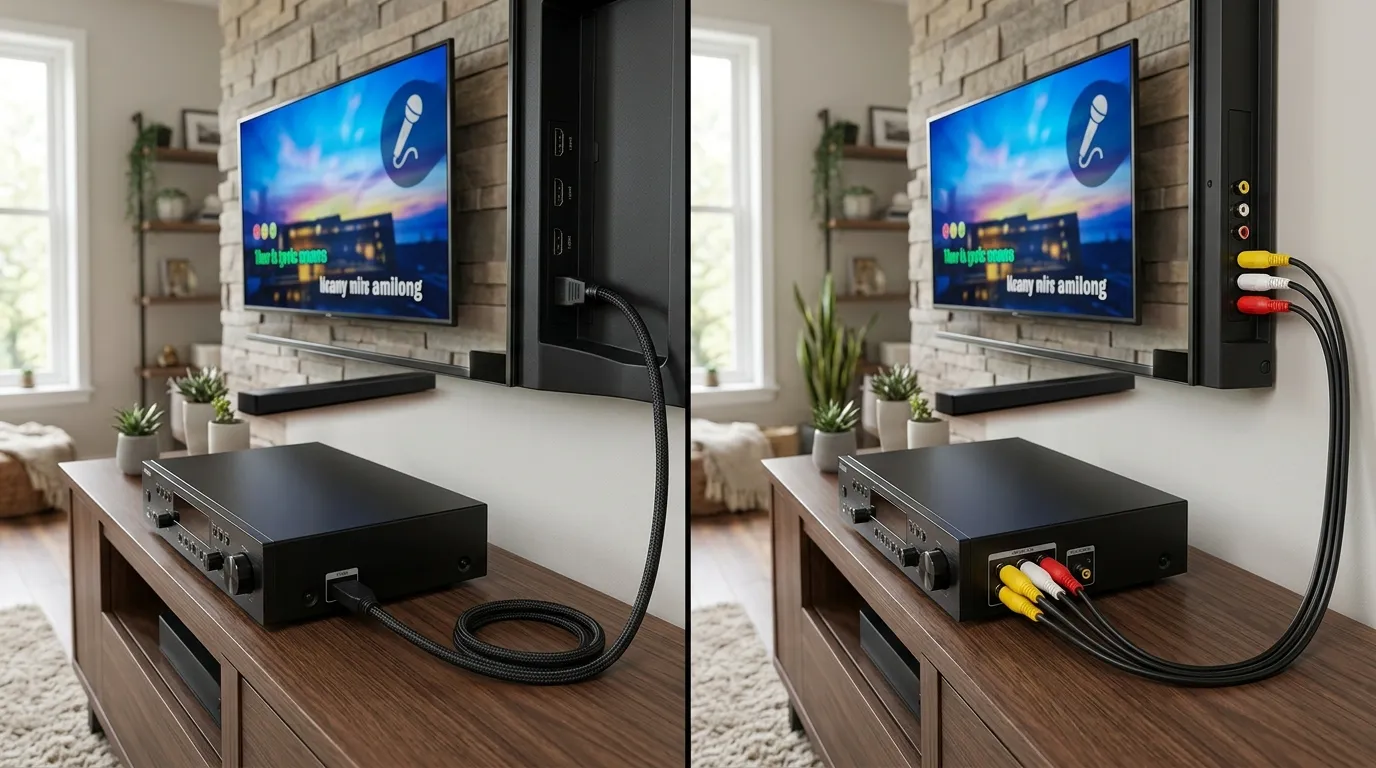
If your karaoke machine has no HDMI output, use RCA (composite) cables for TV connection — this is the standard method for JYX, SM Karaoke, and most non-smart karaoke machines.
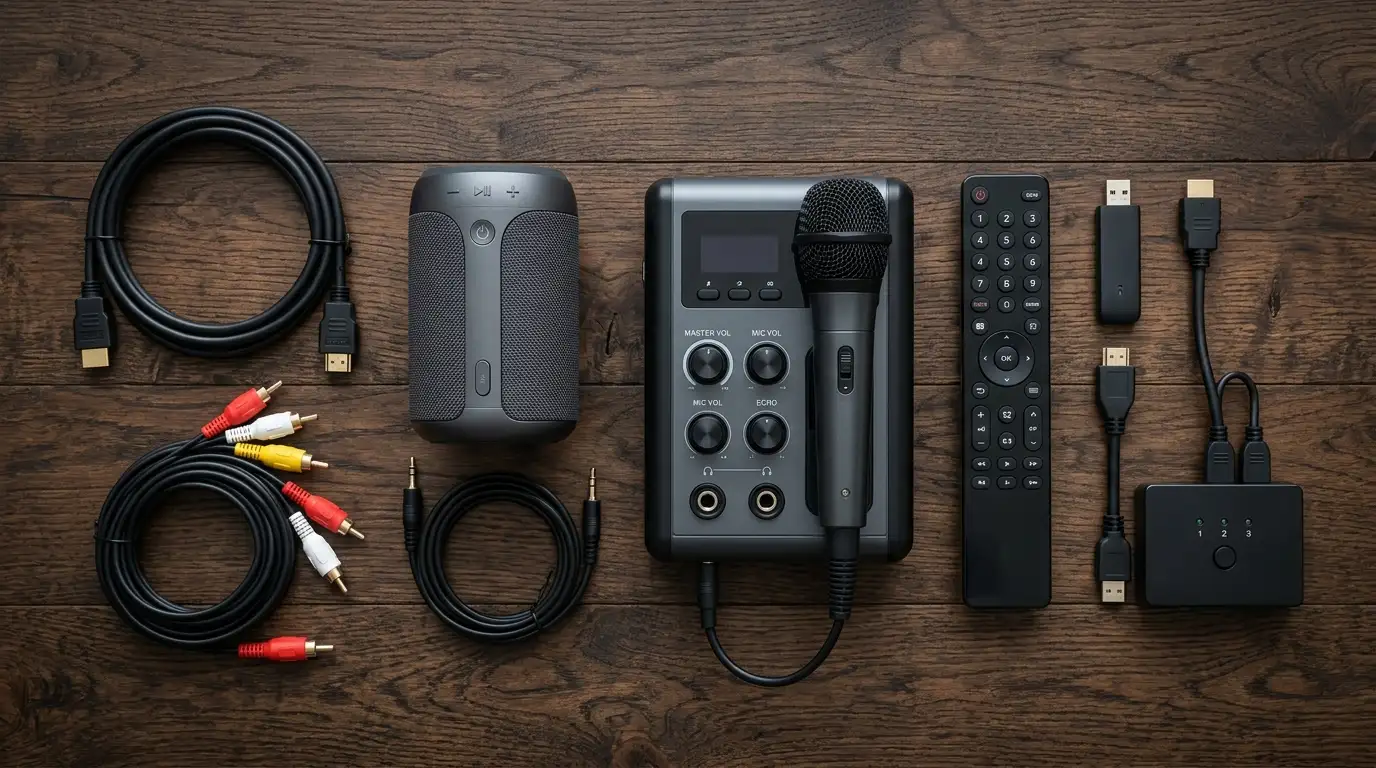
The RCA connection uses 3 cables: yellow (composite video), white (left audio), and red (right audio). Plug the yellow cable into the yellow VIDEO IN port on the TV, and the red/white audio cables into the corresponding AUDIO IN ports. Select the AV input on the TV (labelled AV 1, AV 2, or Video on most TVs). Words display at standard definition (480i) — noticeably lower quality than HDMI’s 1080p, but functional on any TV with RCA inputs.
A second option for machines without HDMI or RCA is Bluetooth — but Bluetooth transmits audio only, with no video signal. A Bluetooth-connected karaoke machine produces audio through the TV’s speakers but displays no words on the TV screen. Bluetooth suits audio-only scenarios, not the standard words-on-screen karaoke experience.
| Method | Video to TV | Audio to TV | Resolution | Cable | Best For |
|---|---|---|---|---|---|
| HDMI | ✅ Yes | ✅ Yes (digital) | 1080p 60Hz | 1× HDMI ($6–$15) | Machines with HDMI OUT — iKarao Shell S1 |
| RCA/Composite | ✅ Yes | ✅ Yes (analog) | SD 480i | 3× RCA cables | Machines without HDMI — JYX, SM Karaoke |
| Bluetooth | ❌ No | ✅ Yes | Audio only | No cable | Audio to TV soundbar — no words display |
| AUX/3.5mm | ❌ No | ✅ Yes | Audio only | 1× 3.5mm cable | Audio only — not recommended for karaoke |
For the full guide covering all 4 TV connection methods, see connect karaoke machine to TV.
Buying Guide: HDMI Connectivity Technical Specs Explained
What Is HDMI Connectivity on a Karaoke Machine?
HDMI (High-Definition Multimedia Interface) connectivity on a karaoke machine means the machine includes an HDMI OUT port that transmits a combined 1080p video and digital audio signal to a TV via a single cable. The TV receives and displays the machine’s full interface — words, menus, track queues — at full-HD resolution.
HDMI connectivity on a karaoke machine is different from HDMI on a TV. The machine needs HDMI OUT; the TV needs HDMI IN. The cable runs from OUT (machine) to IN (TV) — never from IN to IN or OUT to OUT.
Audio Output via HDMI
When a karaoke machine is connected via HDMI, audio from the machine — including backing tracks and the microphone — routes to the TV’s built-in speakers automatically over the same cable. No separate audio cable is needed. For buyers who want room-filling audio beyond the TV’s built-in speakers, the HDMI ARC chain (machine → TV HDMI IN → TV HDMI ARC → soundbar) routes audio through a soundbar without any additional connections.
HDMI Connectivity vs Bluetooth Connectivity
HDMI and Bluetooth serve fundamentally different purposes on a karaoke machine. HDMI delivers 1080p video AND audio to a TV — Bluetooth delivers audio only, with no video signal. A machine with only Bluetooth connectivity cannot display words on a TV screen. A machine with HDMI connectivity can deliver a complete high-definition karaoke experience on any modern TV with a single cable.
For buyers whose priority is TV words display, HDMI connectivity is non-negotiable. For buyers who only want audio output to a soundbar or TV speaker without words on screen, Bluetooth is sufficient.
Real-World Use Cases
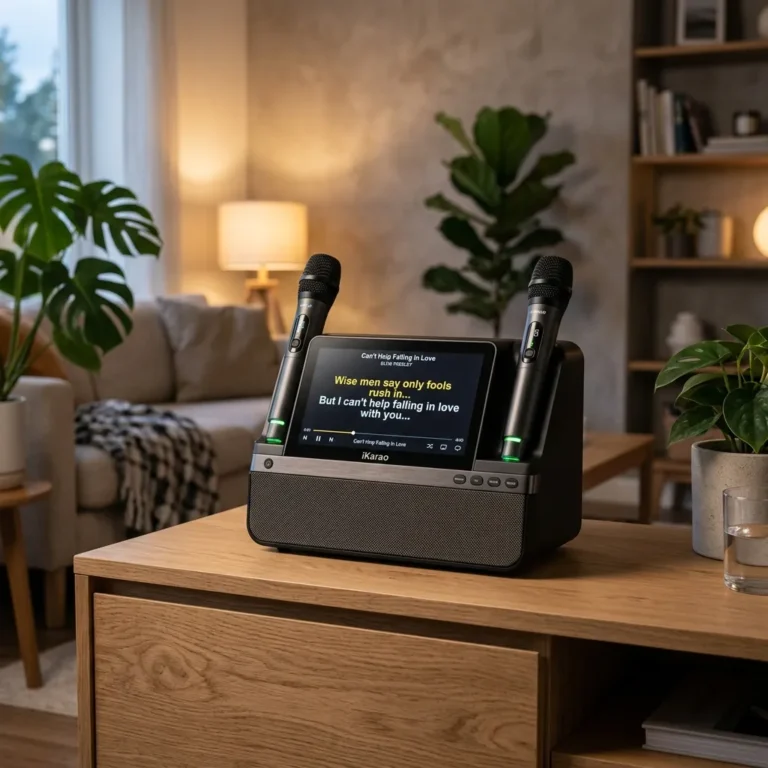
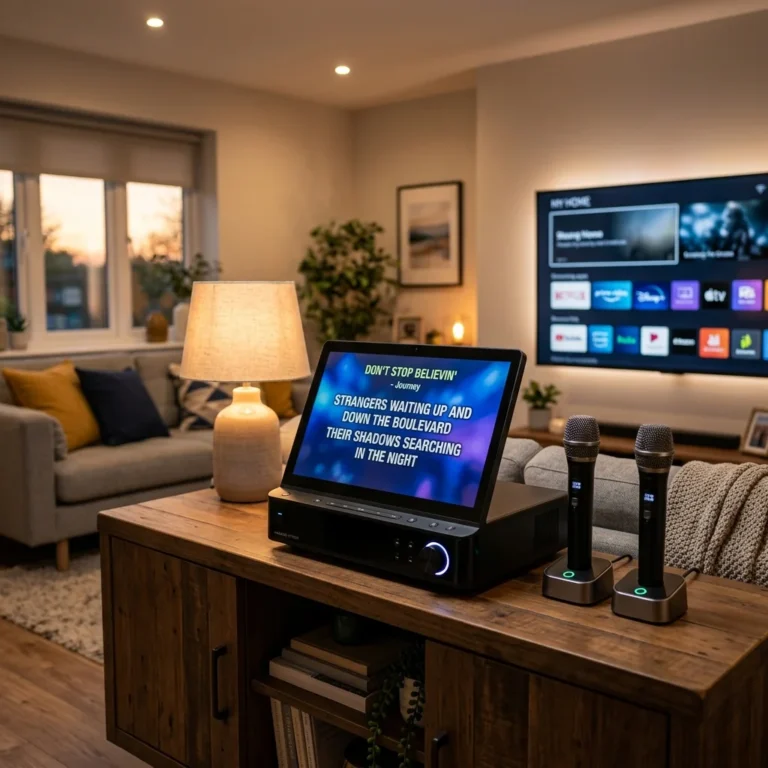
Home entertainment room: iKarao Shell S1 connected via HDMI to a 55-inch TV in a living room. The machine’s built-in 10.1-inch screen serves as the host display for managing the track queue; the TV shows full-screen words for everyone performing and watching. Both screens operate simultaneously with no settings change required.
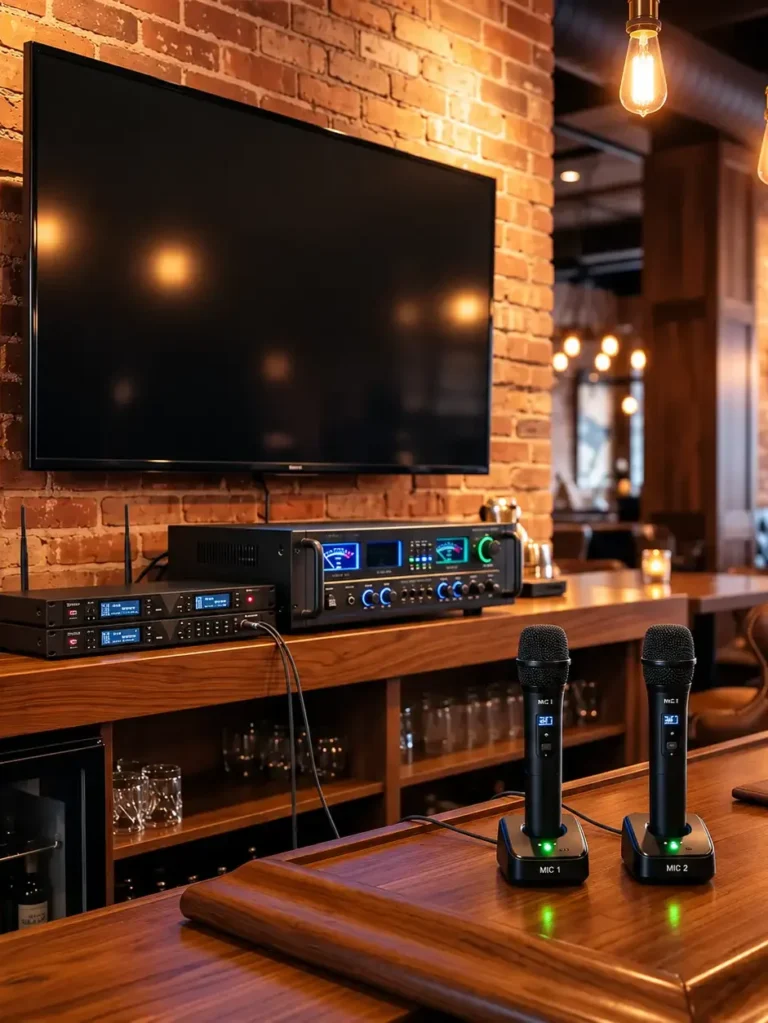
Small venue or KTV installation: A karaoke machine with HDMI connectivity connected to a commercial display monitor mounted behind the performance area provides a performer-facing words display at venue scale. HDMI supports the signal passively up to 15 feet — practical for a back-bar installation with a display 10–12 feet from the equipment cabinet.
Bedroom or dorm room: Connecting via HDMI to a gaming monitor or bedroom TV converts a personal desktop setup into a 2-performer shared display. A 24–27 inch monitor at 2–3 feet displays words clearly for 2 performers without either needing to hold a phone.
HDMI Connection Not Working: Troubleshooting Checklist
5 issues account for more than 90% of karaoke machine HDMI connection failures: wrong TV input selected, HDMI ARC port used, cable not fully inserted, machine not in HDMI output mode, and TV overscan.
Work through these fixes in order:
Fix 1 — Wrong TV input (30 seconds). Press INPUT or SOURCE on the TV remote. Cycle through HDMI 1, HDMI 2, and HDMI 3 in sequence. Most failures resolve here.
Fix 2 — HDMI ARC port used (1 minute). Check the label beside the TV HDMI port. If it reads “ARC” or “HDMI 2 (ARC)”, move the cable to a standard HDMI IN port without the ARC label.
Fix 3 — Cable not fully seated (1 minute). Unplug both ends completely. Firmly re-insert — HDMI connectors require a positive push to seat. A half-inserted connector produces no signal even if it appears connected.
Fix 4 — HDMI output not enabled on machine (2 minutes). On the iKarao Shell S1, open Android Settings > Display > HDMI Output and confirm it is enabled. Some units ship with HDMI output disabled by default.
Fix 5 — TV overscan (2 minutes). If signal appears but the image is cropped at edges, go to TV Settings > Display/Picture > Overscan > Off.
Specific symptom fixes:
Video present, no audio: Set TV audio output to TV Speakers (not external device). Set karaoke machine audio output to HDMI (not internal speaker only). Try a different HDMI cable.
Intermittent signal: Cable exceeds 15-foot passive limit. Replace with an active HDMI cable or add a signal repeater at the midpoint.
Image stretched: Set TV to 16:9 or Auto aspect ratio in Display settings.
If all fixes fail, test with a different HDMI cable and a different TV HDMI port before concluding the machine’s HDMI output port is faulty.
Frequently Asked Questions
How do I connect a karaoke machine to a TV via HDMI?
Connect in 4 steps: (1) power off both devices; (2) plug an HDMI cable from the machine’s HDMI OUT port into a standard HDMI IN port on the TV (not ARC); (3) power on the karaoke machine first, then the TV; (4) press INPUT or SOURCE on the TV remote and select the HDMI number you connected to. The TV displays the karaoke machine screen at 1080p, including words for performers to follow.
Why is my karaoke machine HDMI not working?
The 5 most common causes: wrong TV input selected (cycle through HDMI 1, 2, 3); HDMI ARC port used instead of standard IN; cable not fully inserted at either end; machine HDMI output not enabled in display settings; TV overscan cropping the display. Work through each in order — most failures resolve at step 1. If all 5 fail, test a different HDMI cable before concluding the machine port is faulty.
Which karaoke machines have HDMI connectivity?
HDMI connectivity is available on fewer than 20% of consumer karaoke machines. The iKarao Shell S1 is the primary consumer machine with a confirmed 1080p HDMI OUT port. JYX, Tonor, and SM Karaoke machines do not include HDMI connectivity — they use RCA/AV composite output only. Always confirm a machine’s output port specifications before purchasing if HDMI TV connectivity is required.
How do I connect a karaoke machine to a TV without HDMI?
Use RCA (composite) cables — plug the yellow cable into the TV’s VIDEO IN port and the red/white cables into AUDIO IN ports, then select the AV input on the TV. Words display at standard definition (480i). If the machine has neither HDMI nor RCA, Bluetooth connects audio to the TV speaker only — with no words display on screen. For all 4 methods, see the connect karaoke machine to TV guide.
Do I need a special HDMI cable for a karaoke machine?
No. Any standard HDMI 1.4 or 2.0 Type A cable supports 1080p at 60Hz. A 6-foot HDMI cable costs $6–$15. Premium cables at $30–$50 offer no performance benefit for 1080p over home distances under 15 feet. For runs above 15 feet, use an active HDMI cable or signal repeater to maintain signal quality.
What is the difference between HDMI and RCA for karaoke TV connection?
HDMI transmits 1080p video and digital audio over a single cable. RCA (composite) transmits standard-definition video (480i) via 3 separate cables — noticeably lower display quality on modern large-screen TVs. HDMI is clearly preferable for any machine with HDMI connectivity. RCA is the only alternative for machines without HDMI, including JYX, Tonor, and most SM Karaoke models.
Should I use HDMI ARC for my karaoke machine?
No — not for the direct connection. Use a standard HDMI IN port, not HDMI ARC. HDMI ARC sends audio from a TV back to a soundbar — it is not designed to receive video from an external device. The valid soundbar setup is: karaoke machine HDMI OUT → TV standard HDMI IN → TV HDMI ARC → soundbar. This displays words on the TV while routing audio through the soundbar.
Can I get audio through HDMI from a karaoke machine to my TV speakers?
Yes. HDMI carries both video and audio in a single cable — backing tracks and microphone audio output through the TV’s built-in speakers automatically when connected via HDMI. No separate audio cable is needed. If the TV produces no audio after connection, check: TV is not muted; TV audio output is set to TV Speakers; karaoke machine audio output is set to HDMI rather than internal speaker only.