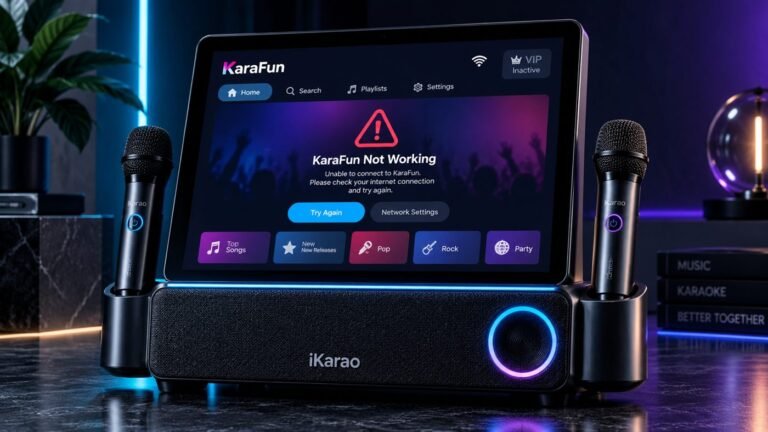
How to Set Up an iKarao Karaoke Machine 2026
How to Set Up an iKarao Karaoke Machine: charge the system, connect its touchscreen to Wi-Fi, prepare the wireless microphones, open a karaoke source such as YouTube or KaraFun, and balance the microphone levels.
Looking for the current iKarao smart karaoke machine with a built-in lyrics display and two wireless microphones? Check the latest listing here.
Table of Contents
Because iKarao combines the touchscreen, speaker, microphones, battery, and apps into one system, you do not need to build a separate karaoke setup before singing. The company’s current user guide covers these same areas, including microphone syncing, KaraFun, YouTube, local files, charging, TV connections, DSP effects, volume management, and system updates.
The exact ports and accessories vary between Break X1, Break X2, Shell S1, Shell S2, and Shell S3, so this guide starts with the setup steps they broadly share and identifies model-specific differences where they matter.
Research note: This guide is based on current iKarao support documentation and user guides rather than hands-on setup of every model. Port layouts, software screens, and accessories can vary by model or hardware revision, so the manual for your exact machine should take priority when it differs.
How to Set Up an iKarao Karaoke Machine in 8 Steps
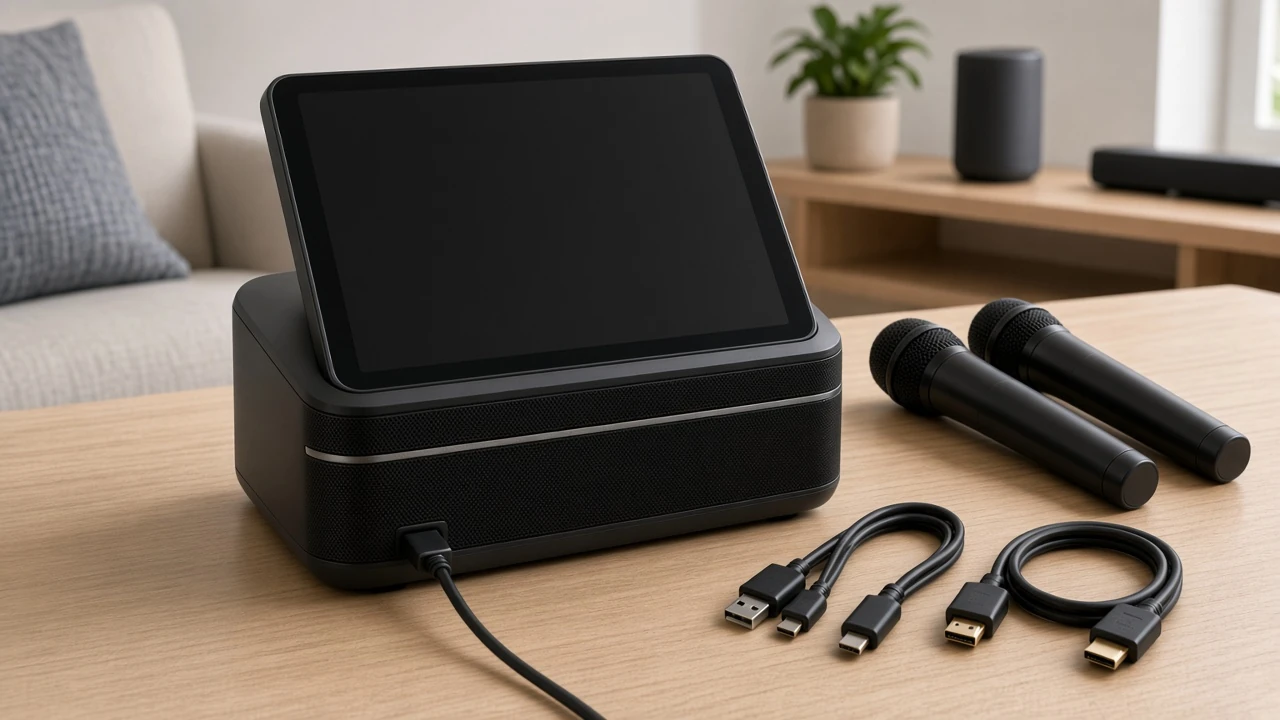
For a first-time setup, use this sequence:
- Check the machine, microphones, and charging accessories.
- Charge the main karaoke unit if needed.
- Charge the wireless microphones.
- Turn on the machine.
- Connect the touchscreen to Wi-Fi.
- Check for system and app updates.
- Turn on and verify both microphones.
- Open YouTube or KaraFun and adjust microphone and echo levels.
Once the basic setup works, you can add optional connections such as a TV, phone, USB drive, wired microphone,.
The advantage of doing things in this order is that you establish a working standalone karaoke system before introducing external devices that could make troubleshooting more complicated.
Before You Start: Identify Your iKarao Model
iKarao currently provides support resources for:
- Break X1
- Break X2
- Shell S1
- Shell S2
- Shell S3
The current support center lets owners select their specific model before viewing manuals and guidance.
Most of the basic software workflow is similar, but hardware differences matter.
For example, current comparison documentation lists HDMI on Break X1, Break X2, Shell S1, and Shell S2, while Shell S3 has a version-dependent HDMI configuration. Break X1 and X2 also include dedicated.
That means an instruction such as “connect the HDMI cable” or “plug in ” should not automatically be applied to every iKarao.
Step 1: Check What Came in the Box
Before switching anything on, make sure you have the main unit, microphones, and the correct power accessories for your model.
Current iKarao support information lists different box contents depending on the machine. For example, Break X1 is documented with two wireless microphones, a shoulder strap, power cable, and manual, while Break X2 lists two wireless microphones, a charging cable, shoulder strap, warranty/quick-start materials, and a manual. Shell S1 documentation lists two wireless microphones, a shoulder strap, and a USB-C cable without a charger.
The important point is:
Do not assume every iKarao includes the same wall charger or charging hardware.
Use the power cable, USB-C cable, or power hardware specified for your particular model.
A quick check before setup can also prevent confusion later if a cable or accessory appears to be missing.
Step 2: Charge the Main Karaoke Machine
If the battery is low, connect the machine to the appropriate power source before starting the full setup.
You do not need to invent a special first-charge routine. iKarao’s current support material says its machines can be operated while they are charging.
A practical setup process is:
- Connect the correct charging or power cable.
- Confirm the machine is receiving power.
- Allow some charge to build if the battery is nearly empty.
- Continue setup while connected to power if necessary.
Avoid applying an arbitrary rule such as “charge for eight hours before first use” unless the manual for your exact model specifically requires it.
Battery capacities and charging systems differ across the iKarao lineup.
Step 3: Charge the Wireless Microphones
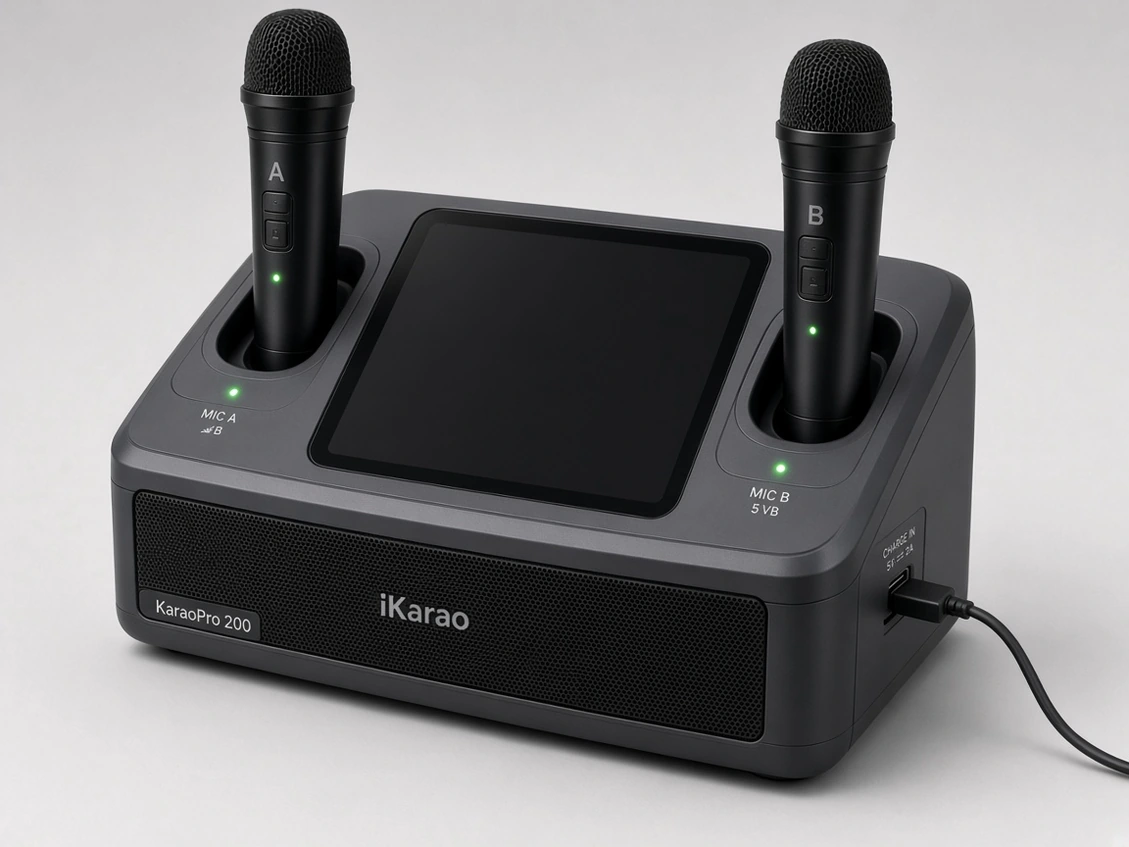
iKarao’s microphones use built-in rechargeable batteries rather than disposable batteries.
Current support instructions say compatible microphones recharge when returned to their storage/charging slots on the machine. The microphone charging light is red while charging and turns off when charging is complete.
To prepare them:
- Place each microphone into its charging position.
- Make sure the microphone is seated correctly.
- Look for the charging indicator.
- Leave the microphones charging if their batteries are low.
- Remove them when you are ready to test the audio.
Do not assume every iKarao microphone has the same battery runtime. Some models publish 20- or 30-hour microphone figures, while others do not provide the same specification.
Main-speaker battery life and microphone battery life are also separate figures.
Step 4: Turn On the iKarao
Place the machine on a stable surface before powering it on.
Then:
- Connect external power if you are using it.
- Turn on the main unit using the model’s power control.
- Wait for the built-in touchscreen interface to load.
- Confirm that you can navigate the home screen.
Avoid relying on a universal instruction such as “hold the power button for exactly three seconds,” because button behavior and physical layouts can vary.
iKarao’s current support documentation describes the products as having an integrated Android-based touchscreen interface with apps such as YouTube and KaraFun.
This built-in interface is why a separate phone is not required for the basic setup.
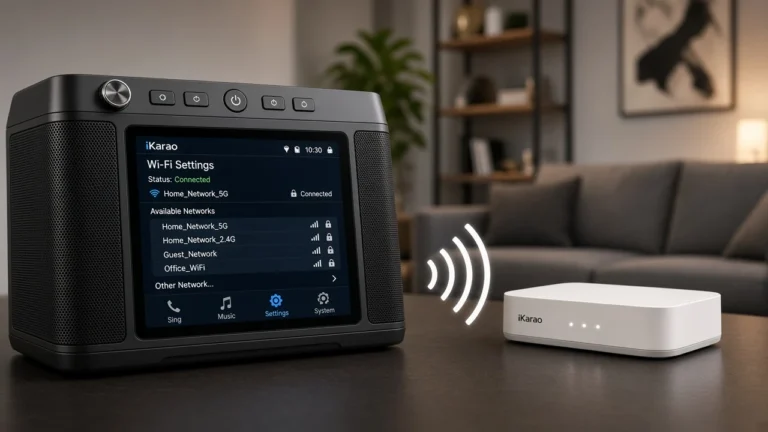
Step 5: Connect the iKarao to Wi-Fi
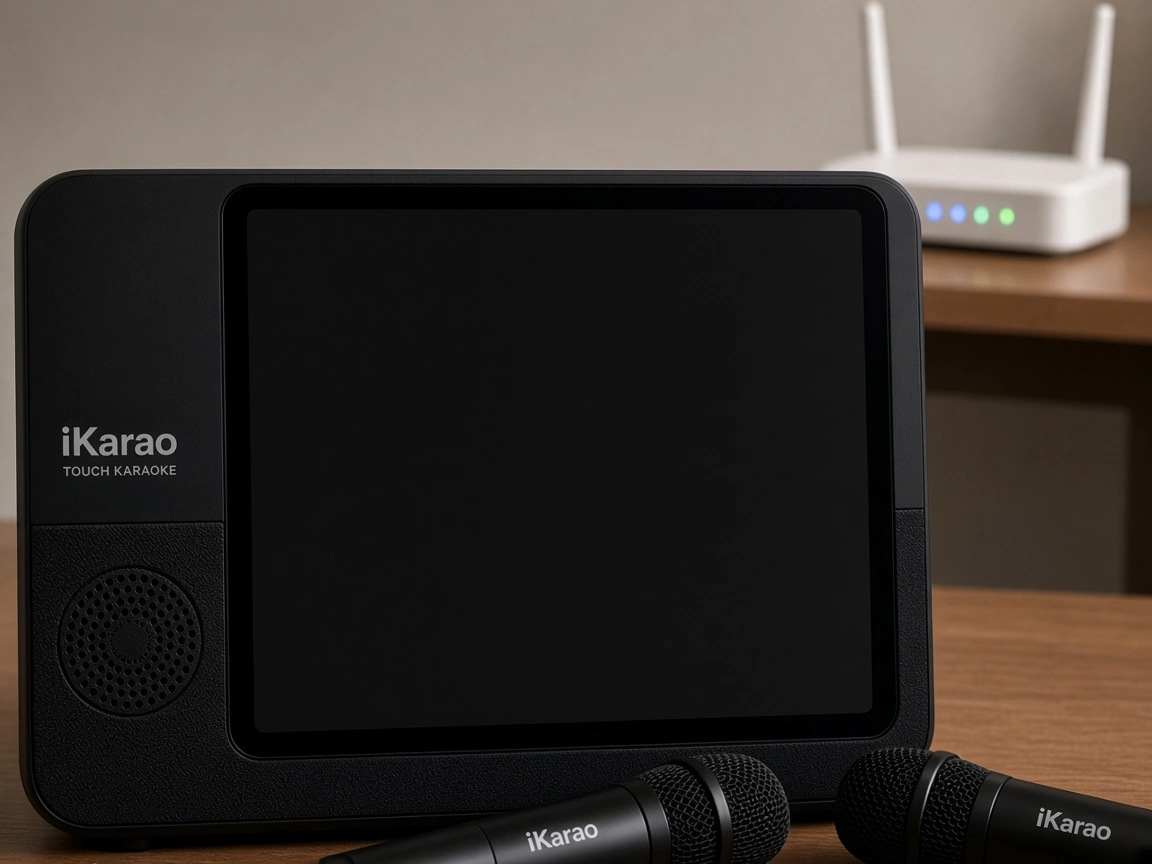
Wi-Fi is one of the most important setup steps because it enables online karaoke apps and software functions.
iKarao’s current instructions specify the following path:
Settings → Wi-Fi → select your network → enter the password.
Use this process:
- Open Settings on the built-in touchscreen.
- Select Wi-Fi.
- Turn Wi-Fi on if it is disabled.
- Choose your home network.
- Enter the network password.
- Wait for the connection to complete.
- Open an online app to confirm internet access.
Wi-Fi is useful for services such as:
- YouTube;
- KaraFun;
- software updates;
- other supported streaming functions.
If the machine connects successfully, you can move on to software and microphones.
Step 6: Check Software and App Updates
Before spending time troubleshooting apps, check that your iKarao software is reasonably current.
The company says it periodically provides OTA system updates, and its user-guide hub includes over-the-air firmware upgrades as part of normal product operation.
This is especially important for KaraFun because iKarao’s current activation documentation ties the six-month promotion to compatible/current software versions.
A sensible setup procedure is:
- Connect the machine to Wi-Fi.
- Open Settings.
- Check the system/about area for software information.
- Install an offered update if the manufacturer currently recommends it.
- Update relevant apps before activating subscriptions.
Do not rely on a specific software version number from an older tutorial. iKarao has different version requirements for different product revisions, and those numbers can change.
Step 7: Set Up the Wireless Microphones
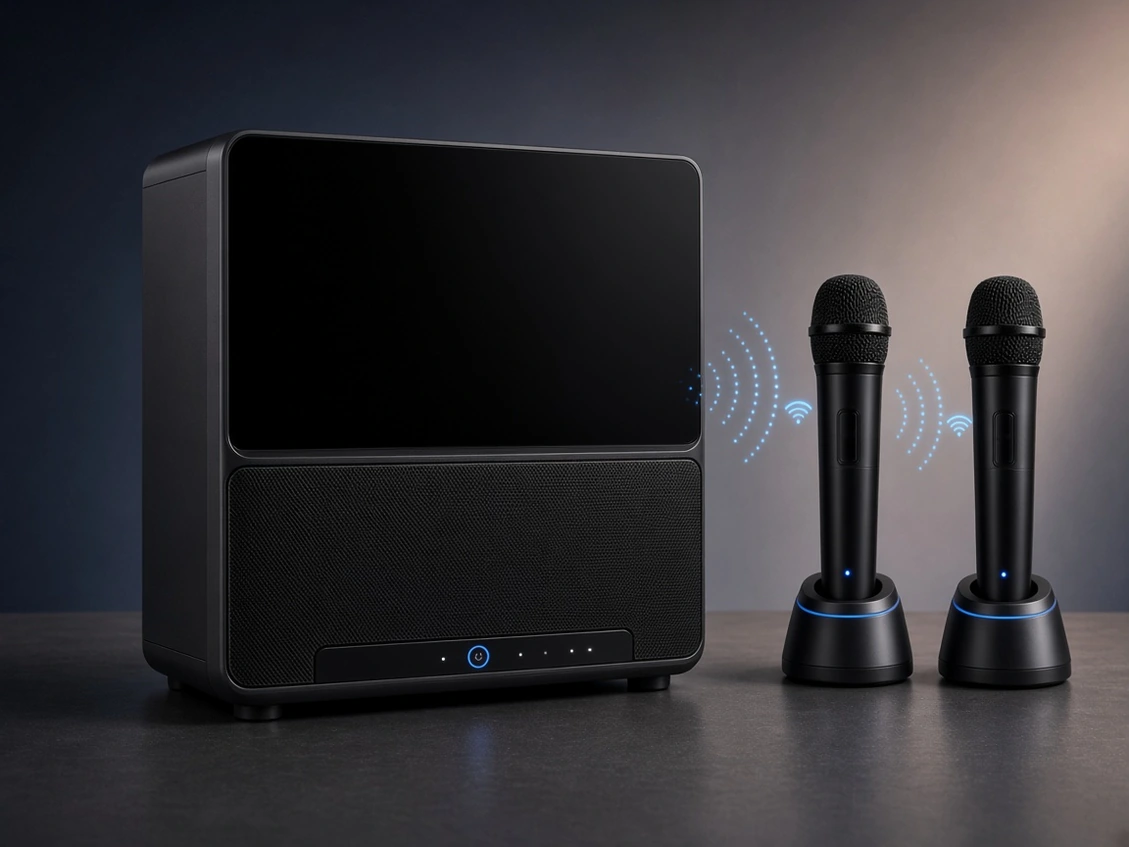
Once the machine is running, remove both microphones from their charging positions.
Then:
- Turn on the first microphone.
- Confirm that your voice comes through the speaker.
- Test the second microphone.
- Set the microphone volume to a moderate level.
- Increase the level gradually if necessary.
The official iKarao user guide treats microphone setup, wireless syncing, and usage as a dedicated part of the karaoke workflow.
If both microphones work immediately, no further action is required.
If one does not connect, follow the wireless-sync instructions for your specific model rather than assuming that every iKarao mic must be manually paired through the normal Android Bluetooth menu.
That distinction matters because:
wireless microphones and Bluetooth phone-audio streaming are separate functions.
Even when a product page describes a microphone as Bluetooth wireless, that does not mean the setup process is necessarily identical to pairing headphones or a Bluetooth speaker.
For general microphone troubleshooting, you can also refer readers to your karaoke machine microphone setup guide.
Step 8: Adjust Microphone and Echo Levels
Do not begin with every control at maximum.
A better initial sound check is:
- Start something familiar.
- Set the master volume to a moderate level.
- Use microphone 1.
- Raise the microphone volume gradually.
- Test microphone 2.
- Add echo or other vocal effects a little at a time.
- Adjust bass, treble, or DSP settings if your model provides them.
iKarao’s current user guide specifically includes microphone DSP effects and master/contextual volume management.
There is no universal “correct” percentage for microphone volume or echo.
The appropriate setting depends on:
- speaker position;
- room acoustics;
- singer distance;
- backing-track level;
- microphone technique.
If feedback starts, lower the microphone level before simply raising the volume.
Why Does It Get Quieter during performance?
If your backing track drops in volume whenever the microphone detects your voice, the machine may not be malfunctioning.
iKarao specifically identifies Audio Ducking as a possible cause.
Its current FAQ recommends turning Audio Ducking off if accompaniment becomes quieter or stops while singing.
Audio Ducking is designed to reduce the backing audio when microphone input is detected.
That can be useful in some speaking situations, but it may be unwanted during karaoke because the singer usually wants the backing track to continue at a consistent level.
If this happens:
- Open the relevant audio/DSP settings.
- Find Audio Ducking.
- Turn it off.
- Start again.
- Test the microphone again.
This is worth checking before changing multiple other sound controls.
How to Start Karaoke With YouTube
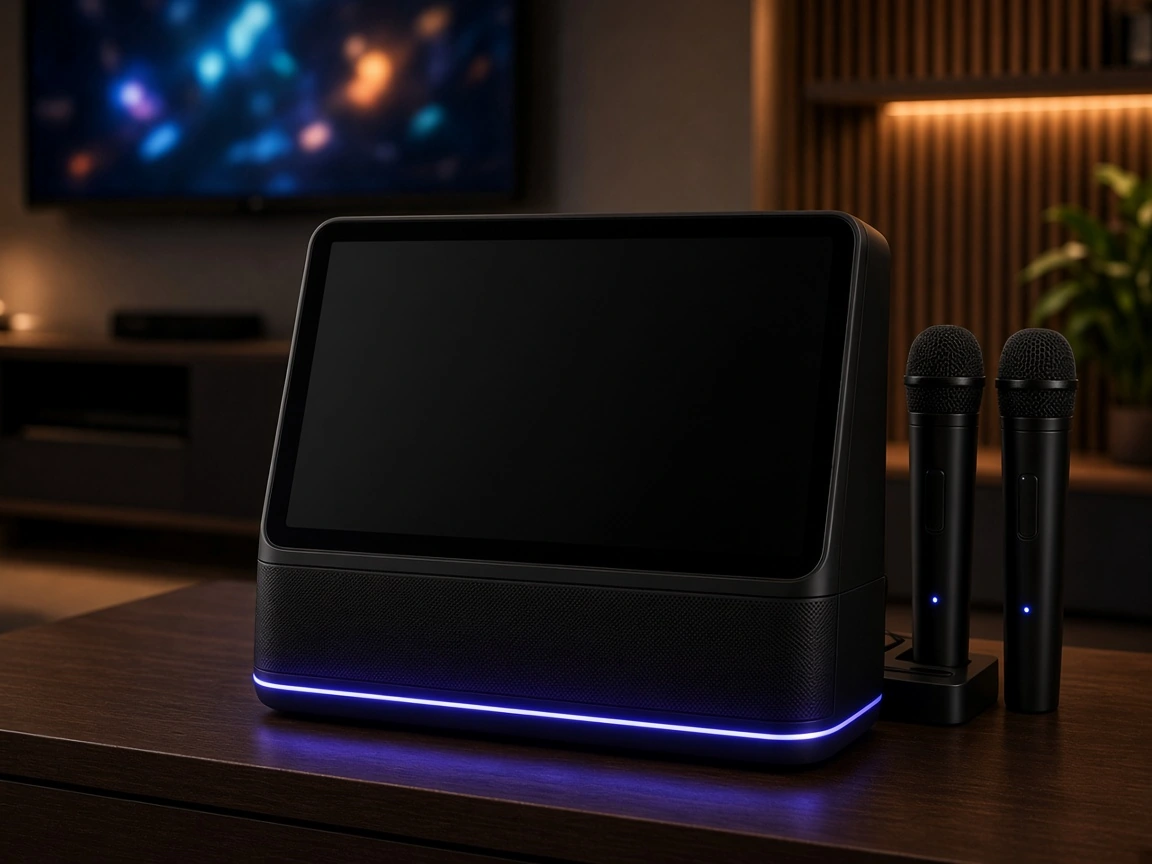
YouTube is one of the simplest ways to begin singing after the machine is connected to Wi-Fi.
iKarao includes YouTube in its current karaoke workflow and user documentation.
To use it:
- Connect the machine to Wi-Fi.
- Open YouTube on the touchscreen.
- Search for the name followed by karaoke.
- Choose a version with suitable lyrics.
- Start playback.
- Adjust the volume.
- Check the microphone level.
- Begin singing.
For example, a search might use:
Name + karaoke
or:
Name + instrumental lyrics
The quality and licensing status of individual YouTube uploads varies, so the presence of a video should not be treated as a guarantee that it is an official karaoke track.
How to Set Up KaraFun on an iKarao
Current iKarao machines are promoted with a six-month KaraFun offer, but the activation process deserves extra care because iKarao currently publishes more than one support workflow.
The company’s contact page says users should update the KaraFun app, open it on the iKarao device, and register so eligible VIP access can activate. It also says the promotion is limited to newly registered KaraFun accounts and requires a current iKarao system version.
A separate FAQ still describes an older/support-assisted method involving the machine’s Settings → About page and contacting iKarao support.
Because those instructions are not completely aligned, the safest setup process is:
- Connect the iKarao to Wi-Fi.
- Update the system if required.
- Update the KaraFun app.
- Follow the current instructions displayed by iKarao/KaraFun.
- If the six-month offer does not activate, check current iKarao support instructions for your model before repeatedly registering accounts.
Do not assume an old activation tutorial will remain valid indefinitely.
The promotional offer and account-eligibility rules can change.
How to Play Karaoke Without KaraFun
KaraFun is not the only way to use an iKarao.
The current official user guide includes multiple playback methods:
- YouTube;
- local files through USB or TF card where supported;
- external mobile apps;
- Spotify;
- Apple streaming;
- audio from other devices.
That gives several alternatives.
YouTube
Use the built-in YouTube app for karaoke videos with lyrics.
USB or TF Card
On models with the relevant ports, supported local files can be played without depending on an online streaming service.
Bluetooth From a Phone
Use the iKarao as a wireless speaker for audio from a phone or tablet.
Streaming Apps
Some models include or support services such as Spotify alongside dedicated karaoke apps.
One important distinction:
Streaming from your phone over Bluetooth does not automatically mean synchronized lyrics will appear on the iKarao display.
Bluetooth audio and on-screen karaoke content are separate functions.
How to Connect a Phone to iKarao With Bluetooth
The built-in touchscreen means a phone is optional for normal karaoke operation, but Bluetooth is still useful when you want to stream your own audio.
iKarao says Apple phones can work with its machines over Bluetooth while the built-in screen can also operate independently.
A typical Bluetooth-audio setup is:
- Open the iKarao Bluetooth/audio function.
- Open Bluetooth settings on the phone.
- Look for the iKarao audio device.
- Select it.
- Confirm the connection.
- Start playback on the phone.
- Adjust the volume on the appropriate device.
Remember:
Phone Bluetooth is not the same thing as setting up the included wireless microphones.
Troubleshoot those systems separately.
How to Connect an iKarao to a TV
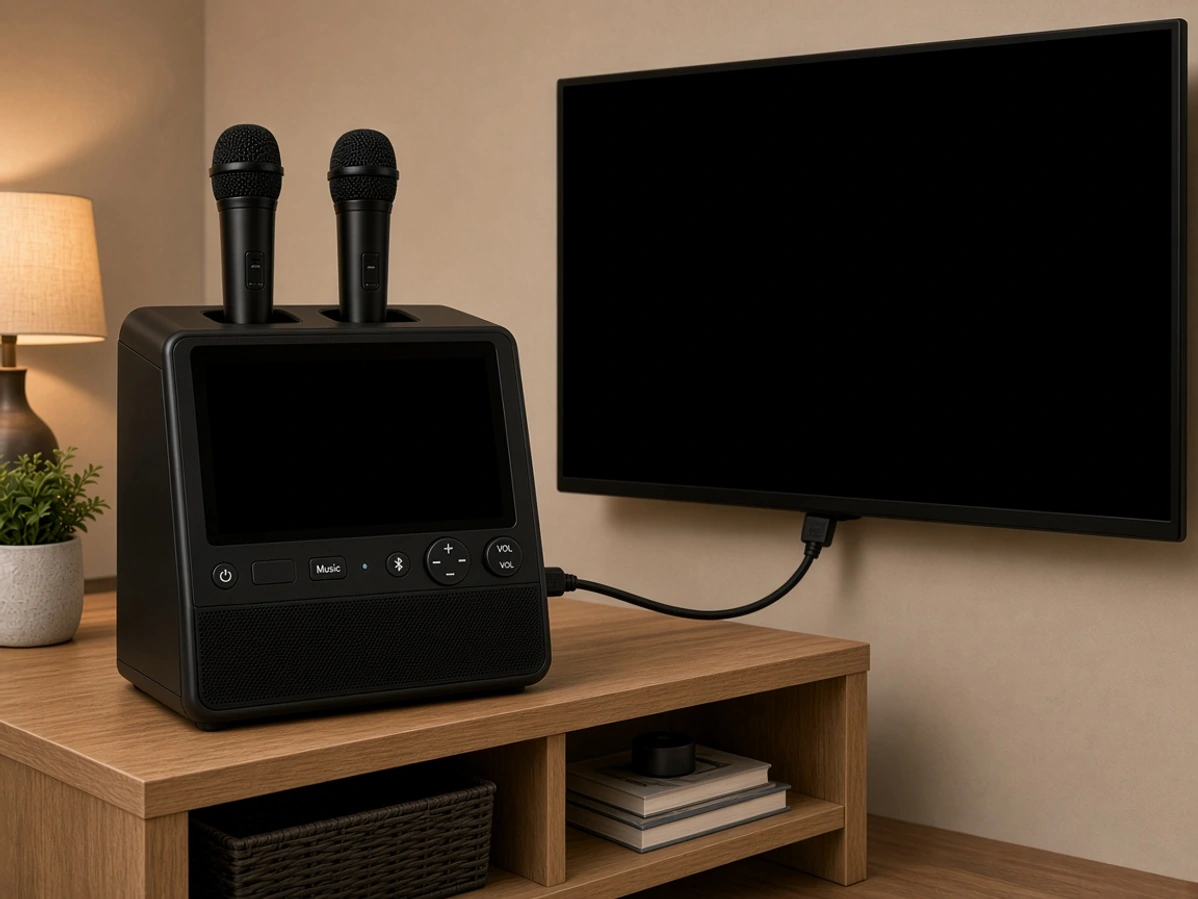
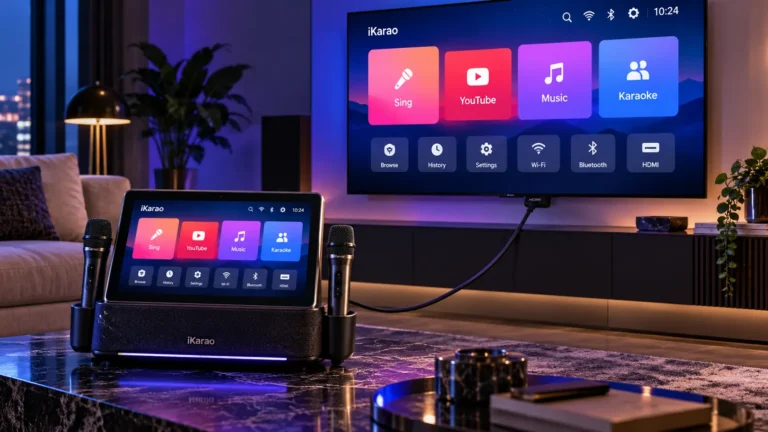
If your iKarao model has the correct HDMI output, you can use a TV or projector as a larger display.
iKarao’s user guide includes external TV/projector connection as a supported workflow, and its current comparison guide lists HDMI for the main models except the base Shell S3 configuration.
The basic setup is:
- Turn on the iKarao.
- Turn on the TV.
- Connect an HDMI cable from the appropriate iKarao HDMI connection to an HDMI input on the TV.
- Use the television remote to choose that HDMI input.
- Start content on the iKarao.
- Confirm that the external screen receives the picture.
Shell S3 HDMI Warning
Do not assume every Shell S3 has HDMI.
The current Shell S3 product page offers Without HDMI and HDMI interface options, while iKarao’s broader FAQ still says Shell S3 lacks HDMI.
The current comparison guide reconciles this more usefully by describing Shell S3 HDMI as optional and distinguishing the base version from an HDMI-equipped version.
So if you own a Shell S3:
check the actual ports on your version before following HDMI instructions.
HDMI Is Model-Specific
Another important distinction is that some dedicated iKarao product pages, including Break X1, label their HDMI implementation Video Only.
That does not mean HDMI technology itself is video-only.
It means the manufacturer describes the HDMI implementation on that particular karaoke machine that way.
For a more detailed explanation, link readers to your karaoke machine HDMI connection and connect a karaoke machine to a TV guides.
How to Add a Wired Microphone
Some iKarao models allow additional wired microphones beyond the included wireless pair.
Current support documentation states that Break X1 and Break X2 include two wireless microphones and have connections for two additional wired microphones, allowing up to four microphones in that documented configuration. It separately says Shell S1 and S2 support their included wireless pair plus one wired microphone.
To connect a wired mic:
- Lower the microphone/input level.
- Locate the correct microphone input.
- Connect the wired microphone.
- Switch it on if required.
- Raise the microphone level slowly.
- Test before increasing overall volume.
Do not automatically apply the same maximum microphone count to Shell S3 unless its current model-specific documentation confirms it.
And do not describe the Break configuration as four wireless microphones.
The documented arrangement is:
2 wireless + 2 wired.
iKarao Troubleshooting Decision Tree
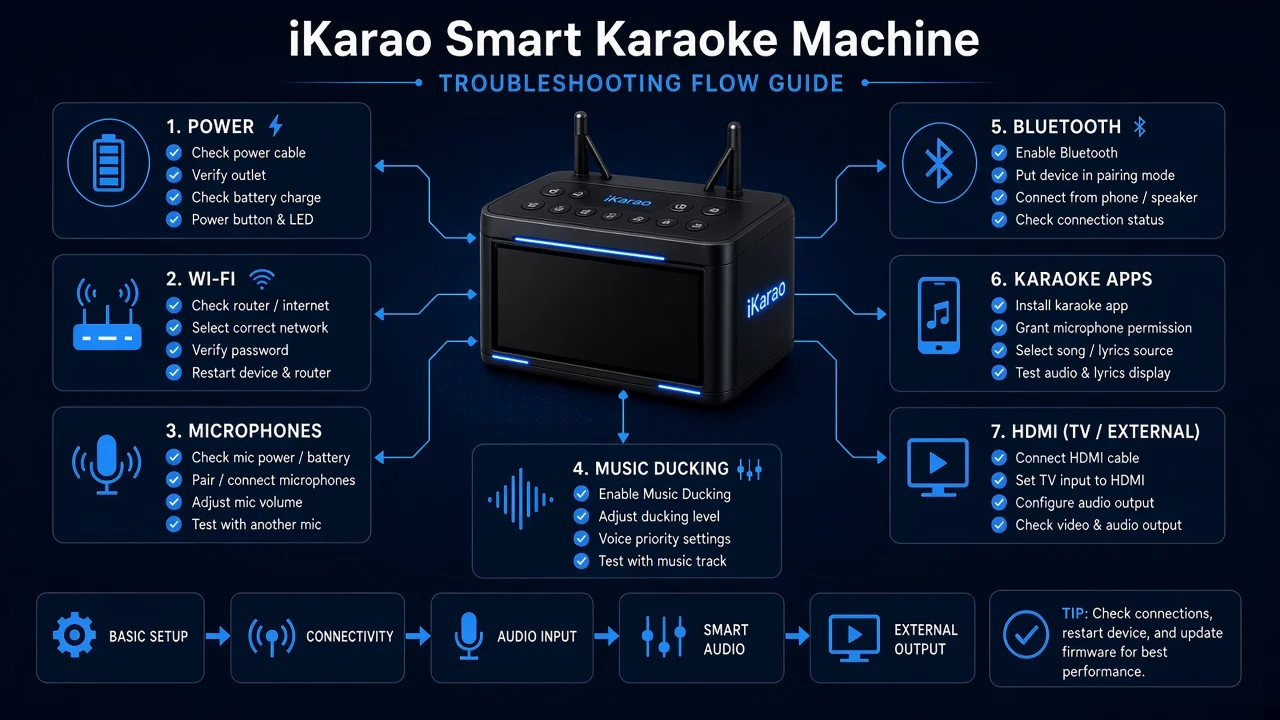
If your iKarao is not working as expected, start with the specific symptom instead of changing several settings at the same time.
Work through the checks below in order. This makes it easier to determine whether the problem is related to power, the touchscreen, Wi-Fi, microphones, audio settings, apps, or an external connection.
START │ ├── Will the iKarao turn on? │ │ │ ├── NO │ │ ├── Connect the correct power or charging cable │ │ ├── Confirm the power source is working │ │ ├── Allow the battery to charge │ │ └── Still no power? │ │ → Check the manual or support instructions │ │ for your exact iKarao model │ │ │ └── YES │ ↓ │ ├── Is the touchscreen working normally? │ │ │ ├── NO │ │ ├── Restart the main unit │ │ ├── Disconnect unnecessary external devices │ │ ├── Check for a system update when possible │ │ └── Still not responding? │ │ → Use the support instructions │ │ for your exact model │ │ │ └── YES │ ↓ │ ├── Are online apps working? │ │ │ ├── NO │ │ ├── Open Settings → Wi-Fi │ │ ├── Confirm Wi-Fi is enabled │ │ ├── Select the correct network │ │ ├── Re-enter the password │ │ ├── Test another online app │ │ └── Still offline? │ │ → Restart the connection and the iKarao │ │ │ └── YES │ ↓ │ ├── Are the wireless microphones working? │ │ │ ├── NO — BOTH microphones have no sound │ │ ├── Check microphone charge │ │ ├── Make sure both microphones are powered on │ │ ├── Check microphone volume │ │ ├── Restart the microphones and main unit │ │ └── Still not connected? │ │ → Follow the wireless-sync instructions │ │ for your exact iKarao model │ │ │ ├── NO — ONLY ONE microphone has no sound │ │ ├── Charge that microphone │ │ ├── Reseat it in the charging slot │ │ ├── Check its charging indicator │ │ ├── Turn it off and back on │ │ └── Still not working? │ │ → Follow the model-specific │ │ microphone-sync procedure │ │ │ └── YES │ ↓ │ ├── Does the backing track become quieter during performance? │ │ │ ├── YES │ │ ├── Check the Ducking setting │ │ ├── Turn Ducking off │ │ └── Test it again │ │ │ └── NO │ ↓ │ ├── Are you hearing microphone feedback or squealing? │ │ │ ├── YES │ │ ├── Lower microphone volume │ │ ├── Move the microphone away from the speaker │ │ ├── Do not point the microphone at the speaker │ │ ├── Reduce excessive echo or effects │ │ └── Retest before increasing volume │ │ │ └── NO │ ↓ │ ├── Is KaraFun failing to activate? │ │ │ ├── YES │ │ ├── Confirm Wi-Fi is working │ │ ├── Check for a system update │ │ ├── Update the KaraFun app │ │ ├── Check current promotion eligibility │ │ └── Still not activating? │ │ → Follow the latest iKarao activation │ │ instructions instead of an older tutorial │ │ │ └── NO │ ↓ │ ├── Are you trying to connect a phone through Bluetooth? │ │ │ ├── YES — PHONE WILL NOT CONNECT │ │ ├── Confirm the iKarao is in Bluetooth audio mode │ │ ├── Turn phone Bluetooth off and back on │ │ ├── Select the correct iKarao audio device │ │ ├── Disconnect another device that may already be connected │ │ └── Retry the connection │ │ │ └── NO/WORKING │ ↓ │ ├── Are you trying to display karaoke on a TV? │ │ │ ├── YES — NO PICTURE │ │ ├── Confirm your exact model or version has HDMI │ │ ├── Check the HDMI cable │ │ ├── Select the correct HDMI input on the TV │ │ ├── Disconnect and reconnect the cable │ │ └── Using a Shell S3? │ │ → Verify that you have the HDMI-equipped version │ │ │ └── NO/WORKING │ ↓ │ ├── Are USB or TF-card files missing? │ │ │ ├── YES │ │ ├── Confirm your model supports that media type │ │ ├── Remove and reconnect the storage device │ │ ├── Check file compatibility │ │ └── Test another compatible file or device │ │ │ └── NO │ ↓ │ └── Everything basically works, but something still behaves strangely? │ ├── Restart the iKarao ├── Remove optional external connections ├── Test the basic setup again ├── Check for software and app updates └── If the problem remains: → Use the manual and support instructions for your exact iKarao modelFastest Way to Diagnose an iKarao Problem
A useful troubleshooting order is:
power → touchscreen → Wi-Fi → microphones → audio settings → apps → external devices
Following that sequence helps separate a basic machine problem from an issue introduced by Bluetooth, HDMI, a television, USB storage, or another connected device.
For example, if YouTube works on the built-in screen and both microphones work but nothing appears on the television, the main karaoke system is already functioning. The next things to check are the HDMI connection, model compatibility, cable, and selected TV input.
Likewise, if the backing track plays normally until you begin singing, check the Ducking setting before changing microphone synchronization or Wi-Fi settings.
If Only One Part of the Setup Is Failing
Use this quick-reference table to identify the most likely starting point.
| Symptom | Check First | Check Next |
|---|---|---|
| Machine will not turn on | Power connection | Battery or charging |
| Apps will not load | Wi-Fi | Software or app updates |
| Both microphones have no sound | Mic power and volume | Model-specific wireless sync |
| One microphone has no sound | That microphone’s battery | Charging dock or sync |
| Backing track gets quieter while singing | Ducking setting | Audio/DSP settings |
| Loud squealing | Microphone level | Mic-to-speaker position |
| KaraFun will not activate | Software/app version | Current activation instructions |
| Phone will not play audio | Bluetooth audio mode | Existing Bluetooth connection |
| TV shows no picture | HDMI support and TV input | Cable or model version |
| USB/TF files do not appear | Media compatibility | File compatibility |
If the Machine Will Not Turn On
Start with power rather than software.
Check that the correct charging or power cable is connected and that the outlet, adapter, or power source itself is working.
If the battery may be completely discharged, leave the machine connected long enough to build some charge before trying again.
If it still does not start, consult the manual or support instructions for the exact model instead of applying reset procedures intended for another iKarao.
If the Touchscreen Is Frozen or Not Responding
First restart the main unit.
Disconnect optional devices such as HDMI cables, USB storage, phones, or other external equipment and test the built-in system by itself.
If the interface becomes usable again, reconnect those devices one at a time.
When possible, also check whether a system update is available.
If the touchscreen continues to freeze or remains unresponsive after a restart, use the support resources for the exact model.
If Apps Will Not Load
Begin with Wi-Fi.
Open:
Settings → Wi-Fi
Then confirm that:
- Wi-Fi is enabled;
- the correct network is selected;
- the password is correct;
- the machine shows a successful connection.
Try a second online app before assuming that the entire internet connection has failed.
If one app fails while another works, the issue may be specific to that app rather than the Wi-Fi connection itself.
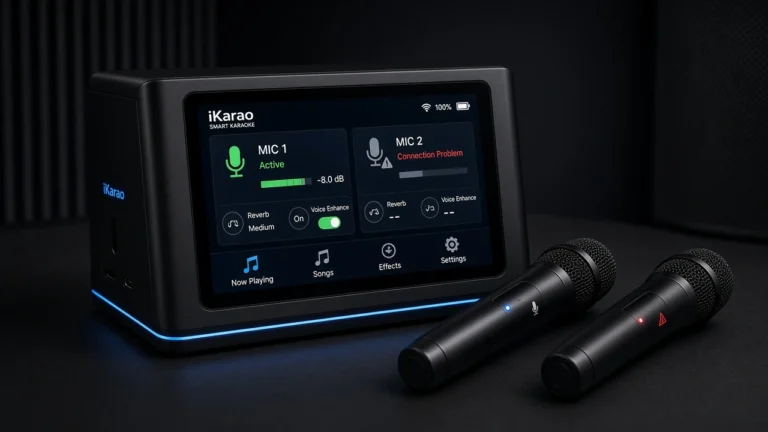
If Both Wireless Microphones Have No Sound
When both microphones stop working at the same time, check shared causes first.
Confirm that:
- both microphones have sufficient charge;
- both are switched on;
- microphone volume is not muted or turned down;
- the main unit is functioning normally.
Restart the microphones and the karaoke machine.
If neither reconnects, use the wireless-sync instructions for your exact model rather than assuming the same pairing procedure applies across the entire iKarao range.
If Only One Wireless Microphone Has No Sound
When one microphone works and the other does not, focus on the individual microphone.
Try:
- placing the affected microphone back in its charging slot;
- confirming the charging indicator appears;
- allowing it to charge;
- switching it off and back on;
- testing it again.
If the other microphone continues to work normally, the problem is less likely to involve the main speaker or overall microphone volume.
The next step is the model-specific synchronization procedure for the affected microphone.
If the Backing Track Gets Quieter during performance
Check the Ducking setting.
This function reduces the backing audio when microphone input is detected.
If you want the backing track to remain at a consistent level:
- open the relevant audio or DSP controls;
- locate the Ducking option;
- turn it off;
- replay it;
- test the microphones again.
This should be checked before changing Wi-Fi, microphone synchronization, or unrelated settings.
If You Hear Loud Squealing or Feedback
Feedback is usually an audio-level or positioning problem.
Try:
- lowering microphone volume;
- moving the microphone farther away from the speaker;
- avoiding pointing the microphone directly toward the speaker;
- reducing excessive echo or other effects;
- changing the speaker position.
After making one adjustment, test again before raising the levels.
Changing several controls simultaneously makes it harder to determine what actually solved the problem.
If KaraFun Will Not Activate
Start by confirming that the machine is online.
Then:
- check for a system update;
- update the KaraFun app;
- check the current promotion requirements;
- retry the activation process.
If it still fails, use the latest iKarao activation instructions rather than relying on an older tutorial or screenshot.
App versions and promotional requirements can change over time.
If Your Phone Will Not Connect Through Bluetooth
First confirm that you are using the iKarao’s Bluetooth audio mode.
Then:
- turn Bluetooth off and back on on the phone;
- locate the correct iKarao audio device;
- select it again;
- disconnect another phone or device that may already be connected;
- retry playback.
Keep phone Bluetooth troubleshooting separate from wireless-microphone troubleshooting because they are different connection functions.
If the TV Shows No Picture
Start by confirming that your exact iKarao model or version actually supports HDMI output.
Then check:
- the HDMI cable;
- the HDMI connection on both devices;
- the TV’s selected HDMI input;
- whether reconnecting the cable restores the picture.
If you have a Shell S3, verify that it is specifically the HDMI-equipped version before spending time troubleshooting the television.
A non-HDMI version cannot be fixed through TV-input changes.
If USB or TF-Card Files Do Not Appear
Check compatibility before assuming the storage device has failed.
Confirm that:
- your iKarao model supports the storage type;
- the device is fully inserted;
- the file format is compatible;
- the files themselves are readable.
Remove and reconnect the storage device, then try another compatible file if possible.
If the second file works, the issue is likely related to the original file rather than the port.
Do Not Troubleshoot Everything at Once
If the problem began after connecting another device, disconnect that device and return to the simplest working configuration:
iKarao + built-in screen + included microphones + one karaoke app
Confirm that this basic setup works normally.
Then reconnect external equipment one item at a time, such as:
- TV;
- phone;
- USB drive;
- TF card;
- wired microphone;
- .
Test the system after each addition.
If the problem appears immediately after reconnecting one particular device, cable, or input, you have narrowed the issue considerably.
Check current price for the iKarao smart karaoke machine.
Final Troubleshooting Rule
When something goes wrong, work from the core system outward:
power first, then touchscreen, Wi-Fi, microphones, audio settings, apps, and finally external connections.
That sequence prevents an HDMI, Bluetooth, storage, or peripheral problem from being mistaken for a fault with the entire karaoke machine.
Recommended First Sound Check
Once the basic setup is complete, perform a simple check before connecting additional equipment.
Use this sequence:
- Play something you already know.
- Set the main volume moderately.
- Test microphone 1.
- Test microphone 2.
- Add a small amount of echo or your preferred vocal effect.
- Check whether Audio Ducking is behaving as desired.
- Listen for feedback.
- Confirm the touchscreen and apps are responding normally.
- Only then test TV, Bluetooth, USB, connections.
This keeps troubleshooting manageable.
If you connect Wi-Fi, HDMI, Bluetooth, and additional microphones before verifying the basic system, it becomes harder to determine which connection caused a problem.
How to Reduce Microphone Feedback
Feedback usually sounds like a loud squeal or ringing tone.
If it happens:
- avoid pointing the microphone directly at the speaker;
- move the microphone farther from the speaker;
- reduce microphone volume;
- reduce excessive echo or effects;
- reposition the speaker;
- increase levels gradually rather than jumping straight to maximum.
There is no single distance or volume percentage that works in every room.
Feedback depends on speaker placement, microphone gain, room reflections, and the positions of the singer and machine.
Common iKarao Setup Problems
| Problem | First Thing to Check |
|---|---|
| Apps have no internet | Wi-Fi connection |
| Wireless mic has no sound | Mic charge, power and model-specific sync |
| Microphone is not charging | Docking position and charging indicator |
| Volume lowers while singing | Audio Ducking |
| KaraFun offer will not activate | App/system version and current activation instructions |
| No TV picture | Model HDMI support, cable and correct TV input |
| Phone will not play audio | Bluetooth audio connection |
| USB/TF files do not appear | Media, port and file compatibility |
| Loud feedback | Mic level and speaker position |
| App behaves unexpectedly | Restart and check for updates |
iKarao Microphone Not Working
If an included microphone produces no sound, troubleshoot in this order:
- Check whether the microphone has charge.
- Turn the microphone on.
- Check the microphone volume on the karaoke machine.
- Place the microphone back in its charging position and check the indicator.
- Restart the microphone if appropriate.
- Restart the karaoke machine.
- Follow the model-specific wireless-sync procedure.
- Check iKarao support if it still will not connect.
Do not jump immediately to a factory reset.
A charge, volume, or wireless-sync issue is a simpler possibility and should be checked first.
iKarao Won’t Connect to Wi-Fi
If Wi-Fi setup fails:
- Open Settings → Wi-Fi.
- Make sure Wi-Fi is enabled.
- Select the correct network.
- Re-enter the password carefully.
- Move the karaoke machine closer to the router if the connection is weak.
- Retry the network connection.
- Restart the machine if necessary.
- Check whether other devices can access the same network.
The official setup route remains Settings → Wi-Fi → network → password.
If other devices work but the iKarao still cannot connect, consult the current model-specific support resources.
KaraFun Won’t Activate
If the included KaraFun offer does not work:
- Confirm the iKarao has internet access.
- Check for system updates.
- Update the KaraFun app.
- Check eligibility for the current promotion.
- Follow the latest activation instructions rather than an old tutorial.
- Use current iKarao support if the device requires assistance updating.
iKarao currently states that its six-month KaraFun promotion is tied to compatible software and new-account conditions.
That makes software version one of the first things to check.
Model-Specific Setup Differences
| Setup Feature | Shell S1 | Shell S2 | Shell S3 | Break X2 | Break X1 |
|---|---|---|---|---|---|
| Built-in touchscreen | Yes | Yes | Yes | Yes | Yes |
| Wi-Fi apps | Yes | Yes | Yes | Yes | Yes |
| Included wireless mics | 2* | 2 | 2 | 2 | 2 |
| HDMI | Yes | Yes | Version-dependent | Yes | Yes |
| Additional wired mic support | 1 documented | 1 documented | Verify by version | 2 documented | 2 documented |
*iKarao’s older comparison material has shown conflicting Shell S1 microphone counts, while current support/box-contents information lists two wireless microphones.
This is why model identification should come before following hardware-specific setup instructions.
What to Do After Setup
Once everything works, a few habits can make future karaoke sessions simpler:
- keep the system software reasonably current;
- return rechargeable microphones to their charging positions after use;
- avoid blocking speaker or ventilation areas;
- verify battery level before taking the machine away from power;
- learn which inputs your exact model provides;
- remember whether Audio Ducking is enabled;
- test HDMI or other external connections before guests arrive if you plan to use them.
There is no need to rebuild the entire setup every time.
Once Wi-Fi, apps, microphone settings, and preferred sound controls are configured, starting another session should generally require far fewer steps.
Frequently Asked Questions
Open Settings, select Wi-Fi, choose your network, and enter the password. This is the connection method currently documented by iKarao.
iKarao says its rechargeable microphones are charged by placing them into their charging/storage slots on compatible machines. The red charging light turns off when charging is complete.
Setup behavior can depend on the model and software. If the microphones do not connect normally after being switched on, follow the wireless-sync procedure for the exact iKarao model rather than assuming every microphone uses the same manual Bluetooth-pairing process.
Check Audio Ducking. iKarao says this feature can reduce the backing audio when microphone input is detected and recommends disabling it if the effect is unwanted.
No for normal smart-interface operation. iKarao says its machines use a built-in touchscreen system with apps such as YouTube and KaraFun. A phone can still be connected through Bluetooth when desired.
Current iKarao support says yes.
Several current models include HDMI, but HDMI availability is model-specific. Break X1, Break X2, Shell S1, and Shell S2 are listed with HDMI in the current lineup comparison, while Shell S3 has an optional HDMI version.
Current iKarao support documents Break X1 and X2 with two included wireless microphones plus two wired microphone connections. Shell S1 and S2 are documented with two wireless microphones plus one additional wired microphone.
First make sure the iKarao software and KaraFun app are current. iKarao’s current pages contain slightly different activation procedures, so use the latest instructions shown by iKarao for your device rather than relying on an old tutorial.
Final iKarao Setup Checklist
Before your first full karaoke session, confirm:
- the main unit has sufficient charge;
- both microphones are charged;
- the machine turns on normally;
- Wi-Fi is connected;
- system/apps are up to date;
- microphone 1 works;
- microphone 2 works;
- microphone levels are balanced;
- Audio Ducking is configured the way you want;
- YouTube or KaraFun can play content;
- HDMI works if your model/version supports it and you plan to use a TV;
- Bluetooth works if you want phone audio;
- any wired microphone connection has been tested separately.
The simplest way to set up an iKarao is to keep the process sequential:
power and charge first → connect Wi-Fi → update software → verify microphones → choose a karaoke source → balance the sound → add external devices afterward.
That workflow matches the major areas covered in iKarao’s current user guide and reduces the number of variables you have to troubleshoot at once.